

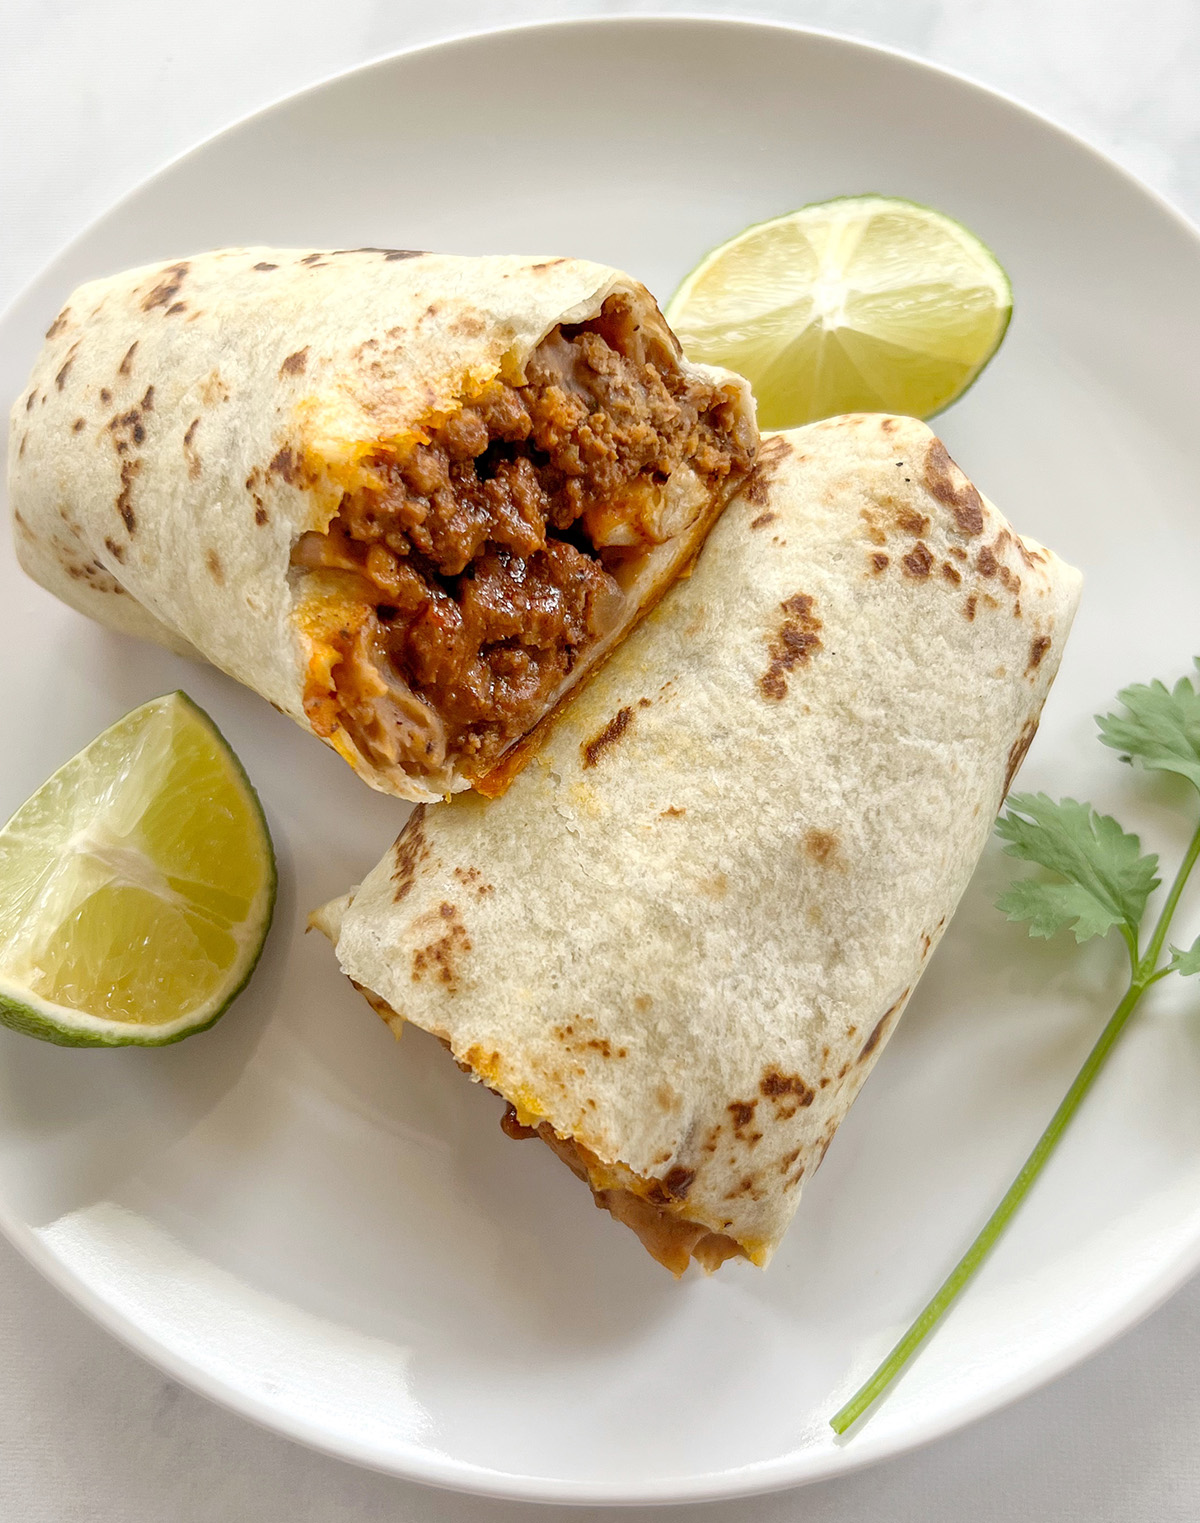
These crispy baked beef chimichangas come together with juicy meat and creamy refried beans. They're quick and easy to make, flavorful, and freezer friendly!

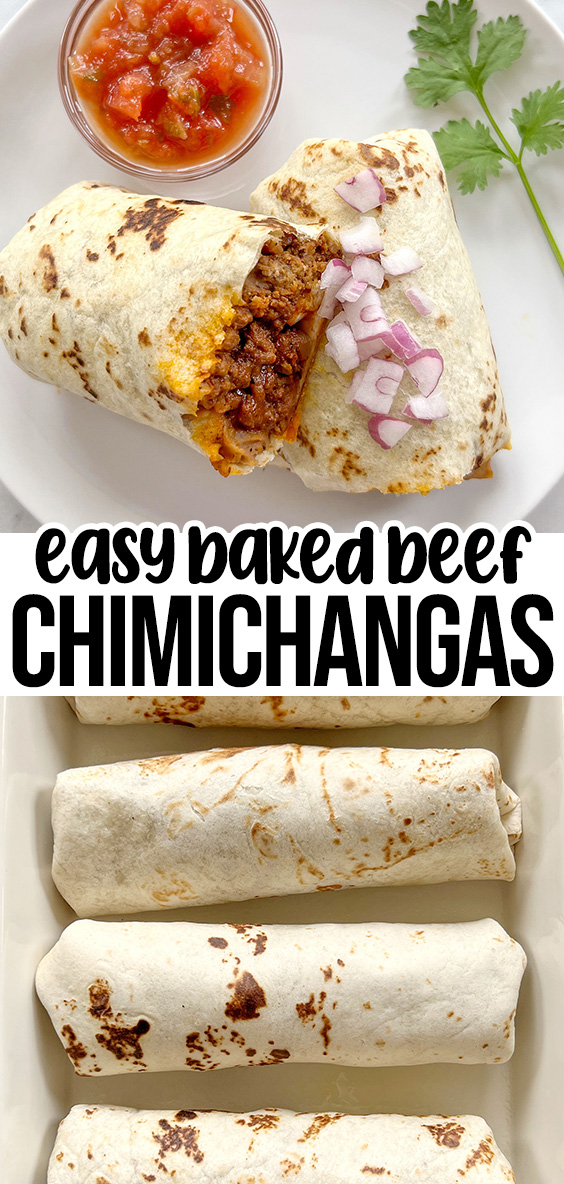
Ditch the deep fryer and make crispy baked chimichangas with beef and beans. It's the ultimate kid friendly weeknight meal.
What is a chimichanga?
A chimichanga is a deep fried burrito that is commonly served at Tex-Mex, Mexican, and Southwestern restaurants.
Growing up in Texas and visiting family in Tucson, Arizona, I was told the origin of chimichangas came from a local Mexican restaurant in Tucson called El Charro. This crispy burrito came to be when the founder was quickly making a burrito for a customer and accidentally dropped it in the deep fryer.
Why you'll love this recipe
- Baked to perfection: Baking chimichangas in the oven is a healthier alternative to deep frying, with less oil and grease splatter.
- Minimal ingredients: This chimichanga recipe is super versatile, so feel free to add your favorite fillings. I'm keeping it simple with seasoned beef and refried beans.
- Great make ahead meal: Meal prep chimichangas or store leftovers for lunch or dinner.

Equipment
- Large skillet: The chimichanga filling comes together in one pan!
- Baking dish: I prefer using a baking dish, however a baking sheet works too.
Ingredients
- Ground beef: I like using 80/20 ground beef, but it's okay to use lean ground beef or your preferred ratio.
- Refried beans: It's easy to spread and acts as the glue, keeping everything in place.
- Seasoning: Make your own seasoning blend with chili powder, paprika, cumin, garlic powder, and oregano.
- Tortillas: Use large burrito-size tortillas.

How to make baked beef chimichangas
The full directions for beef chimichangas recipe are in the printable recipe card below.
- Warm olive oil or cooking oil of choice in a large skillet over medium heat.
- Brown ground beef in the skillet, breaking apart into crumbles as it cooks.
- Add onion and cook until soft and translucent, then stir in seasonings.
- Heat up tortillas on a hot comal griddle or in the microwave.
- Spread an even amount of beans in the center of each tortilla.
- Spoon an even amount of the ground beef mixture on top and roll up.
- Spray the tops of each chimichanga with cooking oil spray (or melted butter) and bake at 425F for about 15 minutes.

What to serve with chimichangas
Top beef and bean chimichangas with salsa, guacamole, sliced avocado, chopped tomatoes, red onion, or fresh cilantro. Serve with a side of rice or simple salad.
How to store baked chimichangas
Once cooled, place leftover chimichangas in an airtight container. Store in the refrigerator for 3-5 days or in the freezer for up to 3 months. To reheat, let thaw completely, then bake at 400F for about 20 minutes or until heated through.

Cooking tips
- Make wrapping the tortillas easier by warming beforehand. You can do this in the microwave or by heating over a comal skillet.
- Don't overfill your chimichangas! If you stuff them with too much filling, they'll tear or explode.
- Instead of seasoning with individual spices, use a store-bought taco seasoning mix.
- Cook chimichangas in the air fryer instead at 400F for about 10 minutes, or until golden brown.
Related recipes
Try these dairy free beef recipes next:
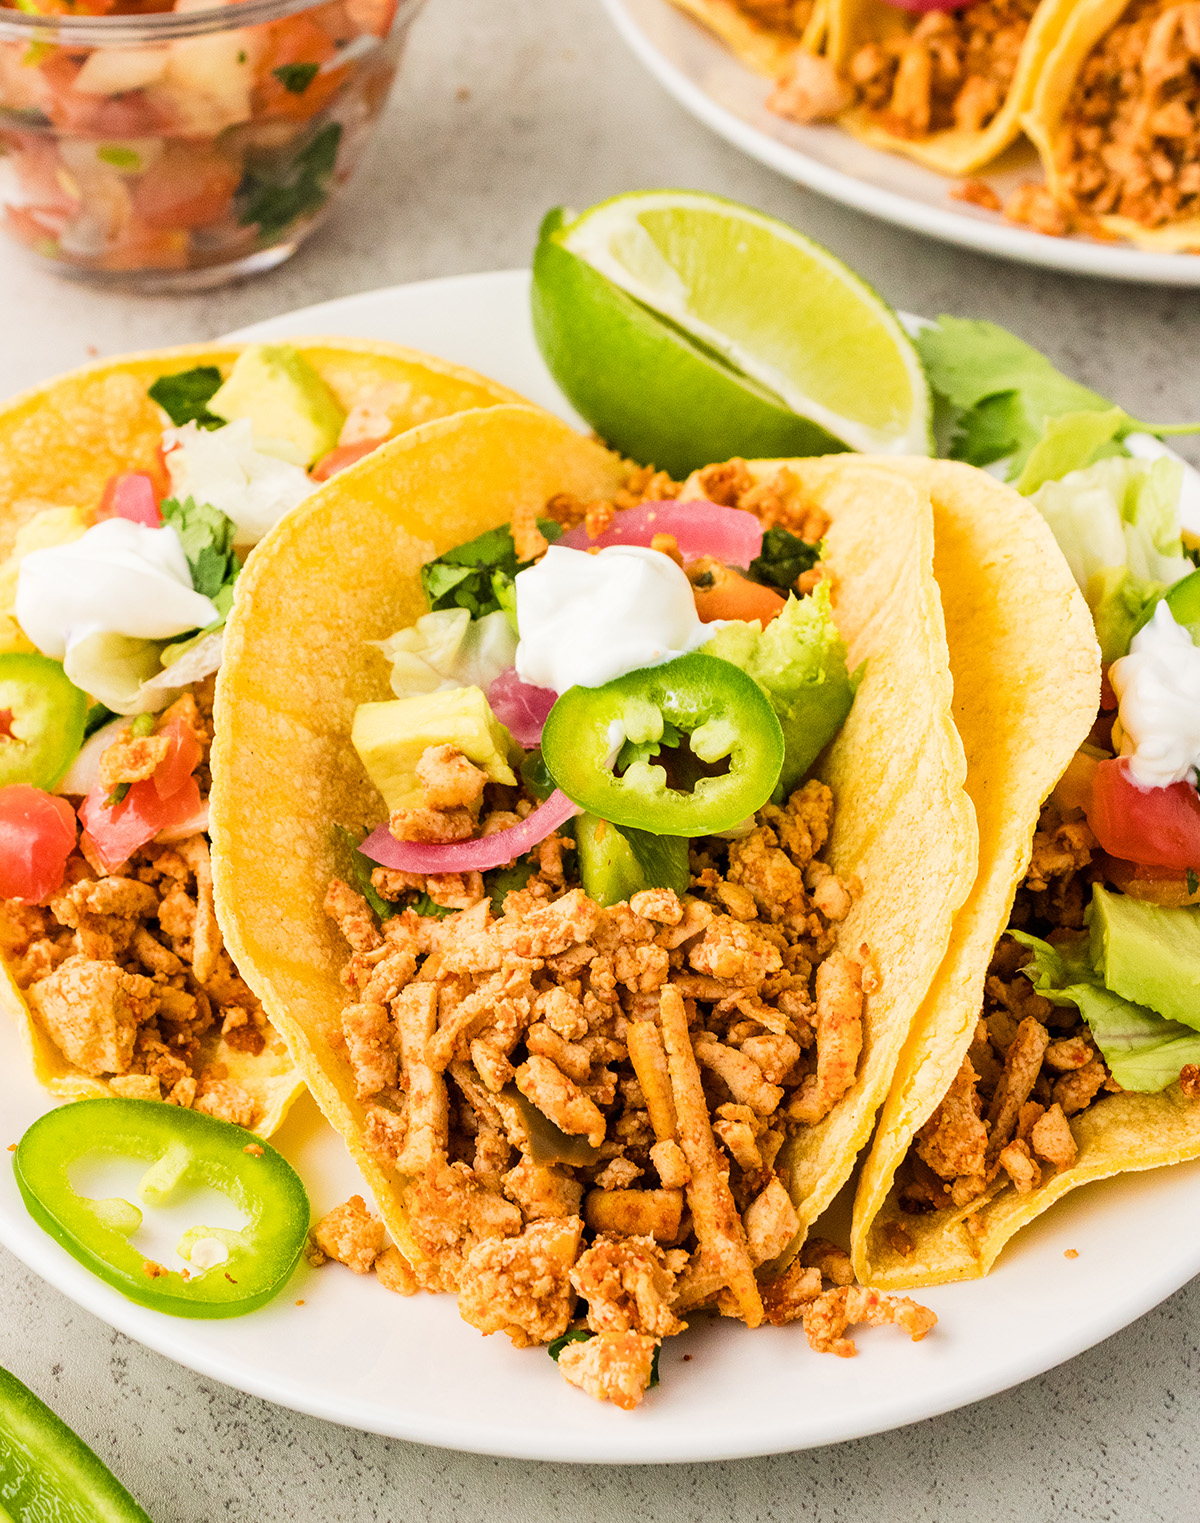
- Soft Shell Tacos
- Ground Beef Flautas
- Old Fashioned Sloppy Joe's
- Homemade Bolognese Sauce
- Dairy Free Meatballs
- Texas Smoked Brisket
- Tater Tot Casserole
- Easy Enchilada Casserole

Baked Beef Chimichangas
Equipment
Ingredients
- 1 tablespoon olive oil
- 1 pound ground beef
- 1 small onion diced
- ½ tablespoon chili powder
- ½ tablespoon paprika
- 1 teaspoon garlic powder
- 1 teaspoon ground cumin
- ½ teaspoon dried oregano
- 1 teaspoon salt more or less, to taste
- 16 ounces refried beans
- 4 burrito sized tortillas
Instructions
- Warm olive oil in a large skillet over medium heat. Add ground beef and cook until brown, breaking apart into small pieces.
- Add diced onion to the skillet and cook until soft and translucent. Stir in chili powder, paprika, garlic powder, cumin, dried oregano, and salt. Taste and adjust seasoning, needed. Remove from heat and set aside.
- Preheat oven to 425F. Make rolling the tortillas easier by warming them over a hot comal, skillet, or in the microwave.
- To assemble chimichangas, spread an even amount of refried beans over each tortilla. Spoon an even amount of the seasoned ground beef mixture to each.
- Roll up the tortillas and place seam side down in a greased baking dish. Coat chimichangas with cooking spray and bake for about 15-20 minutes. Chimichangas are done when crispy and golden brown!
- Serve with salsa, sliced avocado, chopped tomato, diced red onion, or your favorite toppings.
Notes
Nutrition

Leave a Reply